Before you begin: check the maintenance instructions for your particular model. Cleaning methods, suitable fluids and lubrication intervals vary, especially for traction tyres, painted wheels and DCC equipment. Disconnect power before handling the model and allow any cleaner to evaporate fully before running.
Model railways are more than just a hobby—they’re a blend of artistry, engineering, and nostalgia. Whether you’re a seasoned modeller or just starting out, keeping your locomotives running smoothly is key to an enjoyable and realistic railway experience. Among the most vital, yet often underestimated, aspects of maintenance is cleaning your loco’s wheels.
Over time, dirt, dust, oil, and even microscopic metal particles from the rails can build up on wheel treads and pickups. This grime can severely affect performance, leading to jerky movement, stalled starts, flickering lights, or even damage to motors and decoders. The good news? With a few simple tools and the right technique, wheel cleaning can be a quick and satisfying part of your routine that makes a big difference.
This guide offers a step-by-step, easy-to-follow method for cleaning locomotive wheels safely and effectively. It also highlights common risks, how to avoid them, and tips for maintaining a reliable model railway fleet.
Tools and Materials You Will Need:
- A manufacturer-approved wheel cleaner (isopropyl alcohol only where suitable for the model)
- Cotton buds (Q-tips) or lint-free cloths
- Toothpicks or small brushes (for compact areas)
- Foam cradle or folded towel (to rest the loco safely)
- Tweezers (optional, for precision cleaning)
- Magnifying glass (optional, for visual inspection)
- Power pack/controller or rolling road (optional for powered cleaning)
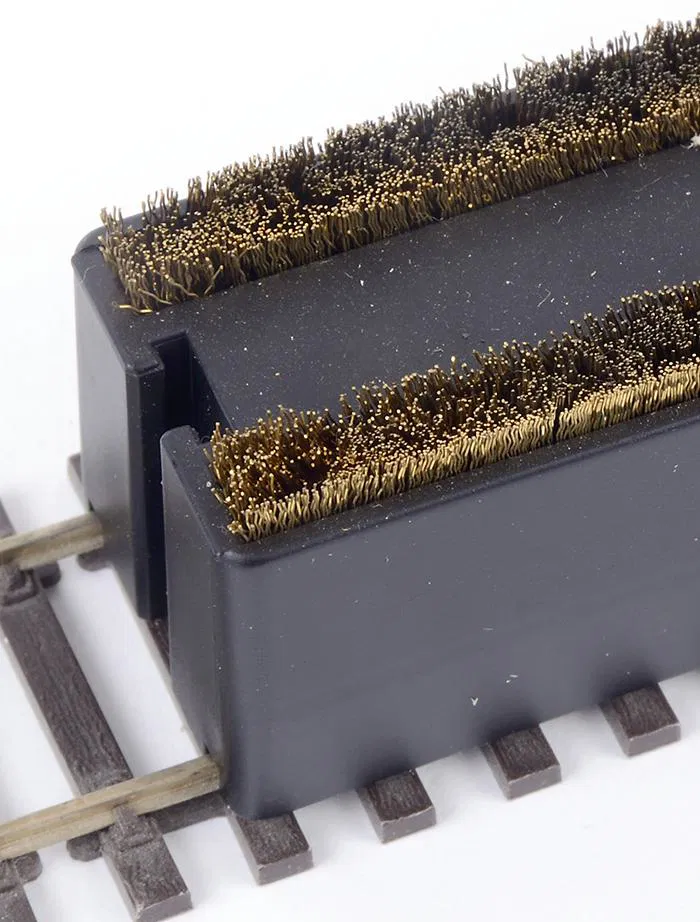
Step-by-Step Cleaning Procedure:
1. Power Down and Prepare the Workspace
- Unplug the loco from any track or power source.
- Clear a clean, well-lit workspace.
- Lay down a foam cradle or towel to support the loco and protect delicate details.
2. Inspect the Wheels
- Use a magnifying glass to check for dirt, oil, or oxidation.
- Look for areas around the wheel tread and flange where gunk tends to build up.
3. Cleaning Exposed Wheel Treads
- Lightly dampen a cotton bud with a cleaner approved by the locomotive manufacturer. Where isopropyl alcohol is suitable, use only a small amount and keep it off paint, plastic parts and traction tyres.
- Clean the exposed metal wheel tread gently with a lightly dampened cotton bud. Do not force driven wheels to turn by hand; follow the manufacturer’s instructions for moving the wheels to reach the remaining surfaces.
- Replace the bud as it becomes dirty to avoid spreading grime.
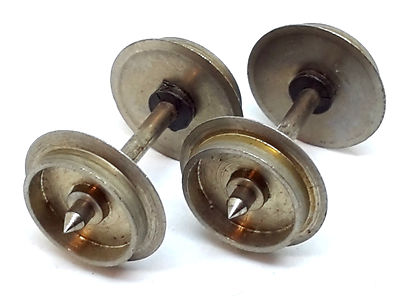
Tip: Focus on applying light pressure. Let the alcohol break down the dirt rather than using force.
4. Optional: Powered Cleaning
If you’re comfortable and have the necessary tools:
- Set the loco on a rolling road or upside down in the cradle.
- Use only a manufacturer-approved rolling road or wheel-cleaning arrangement with a suitable DC or DCC controller. Do not attach power directly to a decoder or unfamiliar wiring.
- Run the loco slowly and carefully hold a lightly dampened lint-free cloth or bud against the spinning wheels.
Important: Use the correct controller settings for your model, run at low speed in short periods, and stop immediately if anything catches or the motor becomes warm.
5. Clean Pickup Areas and Back of Wheels
- Use a toothpick or brush to dislodge dirt from around axle ends, pickup contacts, and wheel backs.
- Gently wipe these areas with an alcohol-moistened cloth.
6. Final Drying and Inspection
- Use a clean, dry cotton bud to wipe down each wheel after cleaning.
- Check that all residue is gone and no fibres are left behind.
Risks and How to Avoid Them
| Potential Risk | What Can Happen | How to Prevent It |
|---|---|---|
| Wheel plating damage | Abrasives can remove the nickel or blackened finish | Never use sandpaper or track rubbers on wheels |
| Breaking detail parts | Mishandling can snap off couplings, pipes, or other small pieces | Always rest loco on soft surfaces and handle by the main body |
| Short circuits | Conductive tools touching powered wheels can cause shorts | Use non-conductive cleaning tools and disconnect power |
| Motor strain or overheating | Running wheels too fast during powered cleaning can burn out motors | Use a compatible controller at low speed in short periods; follow the model instructions |
| Residue attraction | Oily cleaners leave residue that collects more dust | Use a manufacturer-approved cleaner sparingly, and allow wheels to dry thoroughly |
Cleaning Frequency Guide
- Frequent runners or dusty environments: Clean every 2–3 weeks
- Occasional use or clean layouts: Clean every 2–3 months
- Signs it’s time to clean:
- Jerky or stalled running
- Flickering lights or sound
- Poor slow-speed performance
Bonus Tips:
- Label a small container for used cotton buds to avoid reusing dirty ones.
- Keep a log of maintenance dates to track cleaning and performance issues.
- Clean your track at the same time for best results.
- For DCC locos, be extra careful around decoder wiring and components.
Suggested Maintenance Schedule
| Task | Frequency |
| Wheel cleaning | Inspect regularly; clean when dirty or running deteriorates |
| Track cleaning | Monthly or as needed |
| Loco lubrication | Follow the manufacturer’s lubrication schedule |
| Visual inspection | Every running session |
With regular care and the right technique, your locomotives will perform reliably and look great for years to come. Happy modelling!
Further reading: Hornby’s guide to common running problems and maintenance. Always follow the instructions supplied with your own locomotive.